How to Record From Streamate: A Quick Guide
Updated October 17, 2024 by Admin
Have you ever wanted to record Streamate cam models straight from your desktop, so you could forever save the best content you could possibly get? In this guide you will learn how!
What is CaptureGem?
CaptureGem is a desktop application for Windows and macOS to record from a variety of cam sites such as Streamate. You can record as many models as you like in parallel, automatically start when models come online, and manage your library of recordings via the review feature. CaptureGem is designed to be as user-friendly, high-performance, and lightweight as possible. CaptureGem has a generous free tier and also a premium tier that allows for auto-recording when models come online.
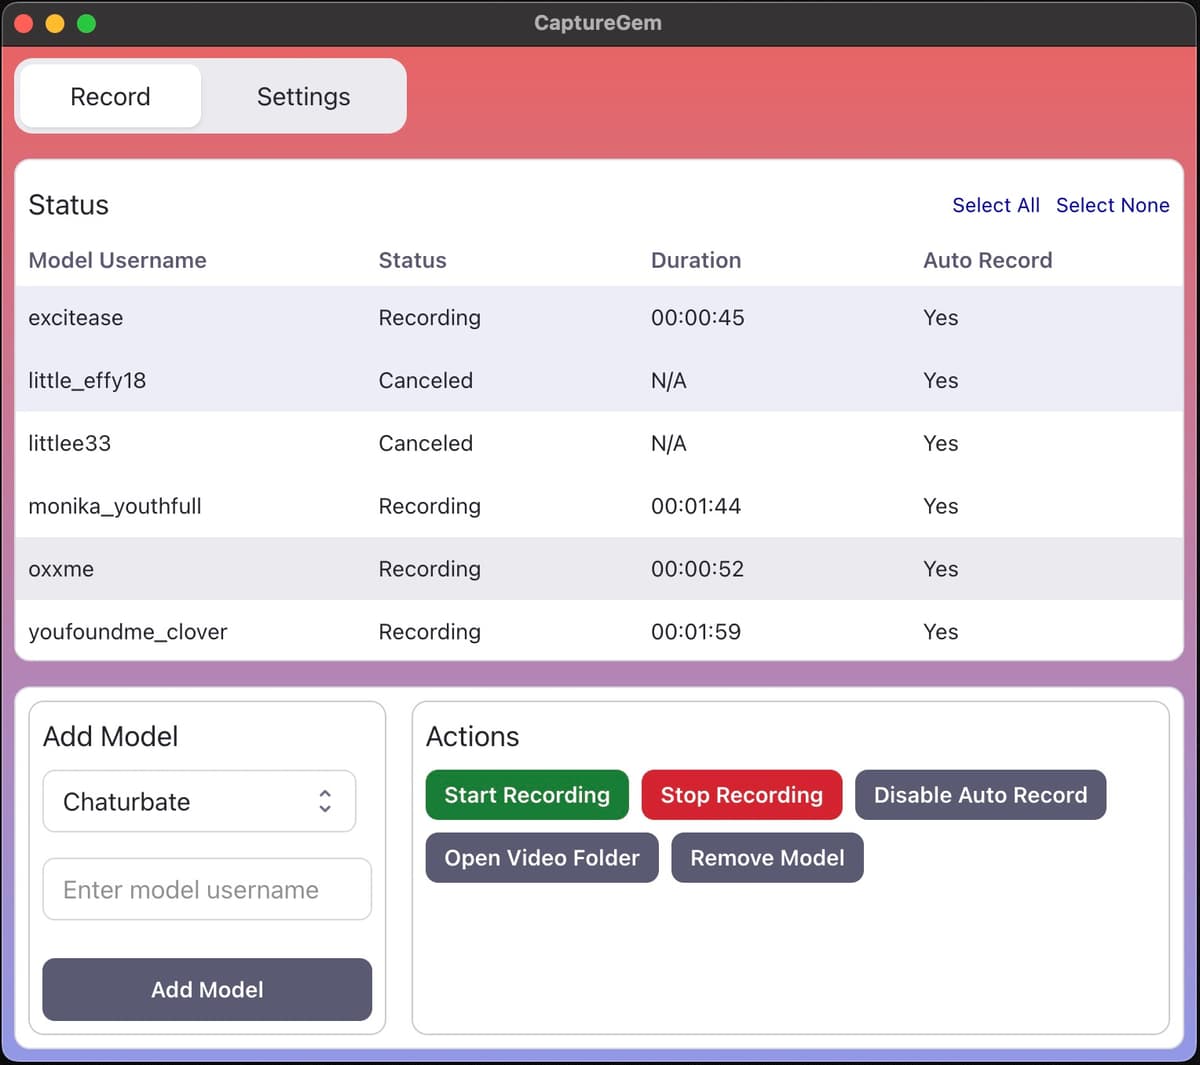
CaptureGem Screenshot - Recording Streamate with CaptureGem
Step 1: Download CaptureGem
First, download CaptureGem from the official website. Make sure to select the correct version for your operating system (Windows or macOS). The download is free and no signup is required.
Make sure to fully unzip the downloaded file to a new directory before running it. On macOS, you can also copy it into your Applications directory, but this is not mandatory.
After unzipping, open CaptureGem by double-clicking the CaptureGem executable. The application will now load. Note that there may be some firewall-related warnings on Windows, so make sure to allow and continue past these.
Step 2: Navigate to Streamate
Next, navigate to the Streamate page featuring the model you want to record. Take note of the model's username, which can be found in the URL.

Navigate to Streamate
Step 3: Start Recording Model in CaptureGem
You can now paste the Streamate model's username into the designated field. CaptureGem will now load. Press Add Model and the recording will start. Keep in mind that model usernames are case sensitive.
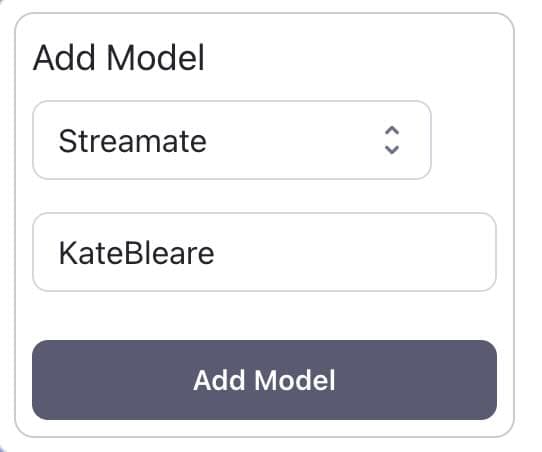
Open CaptureGem and Paste Streamate Model Name
Note: you can record as many models in parallel from Streamate as your network connection can handle.

Recording is Starting
Step 4: Monitor Recordings
Now that the recording has started, you can click on the Monitor button and monitor all your recordings in real time. Note that this uses some extra processing power while the tab is open, but does not consume any additional bandwidth.
You can also open the model's page from here and you can end recordings. Note that you can also change the refresh rate of the thumbnails in the Advanced Settings.
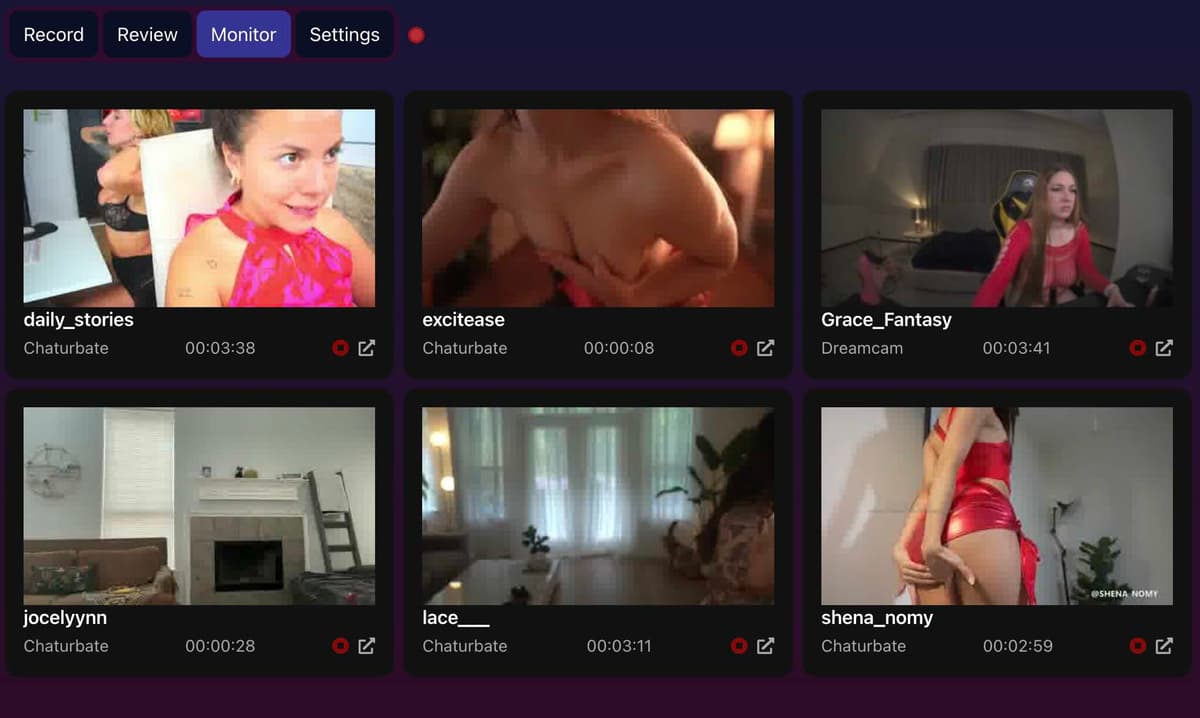
Monitoring Streamate Recordings (in Dark Mode)
Step 5: Review and Edit
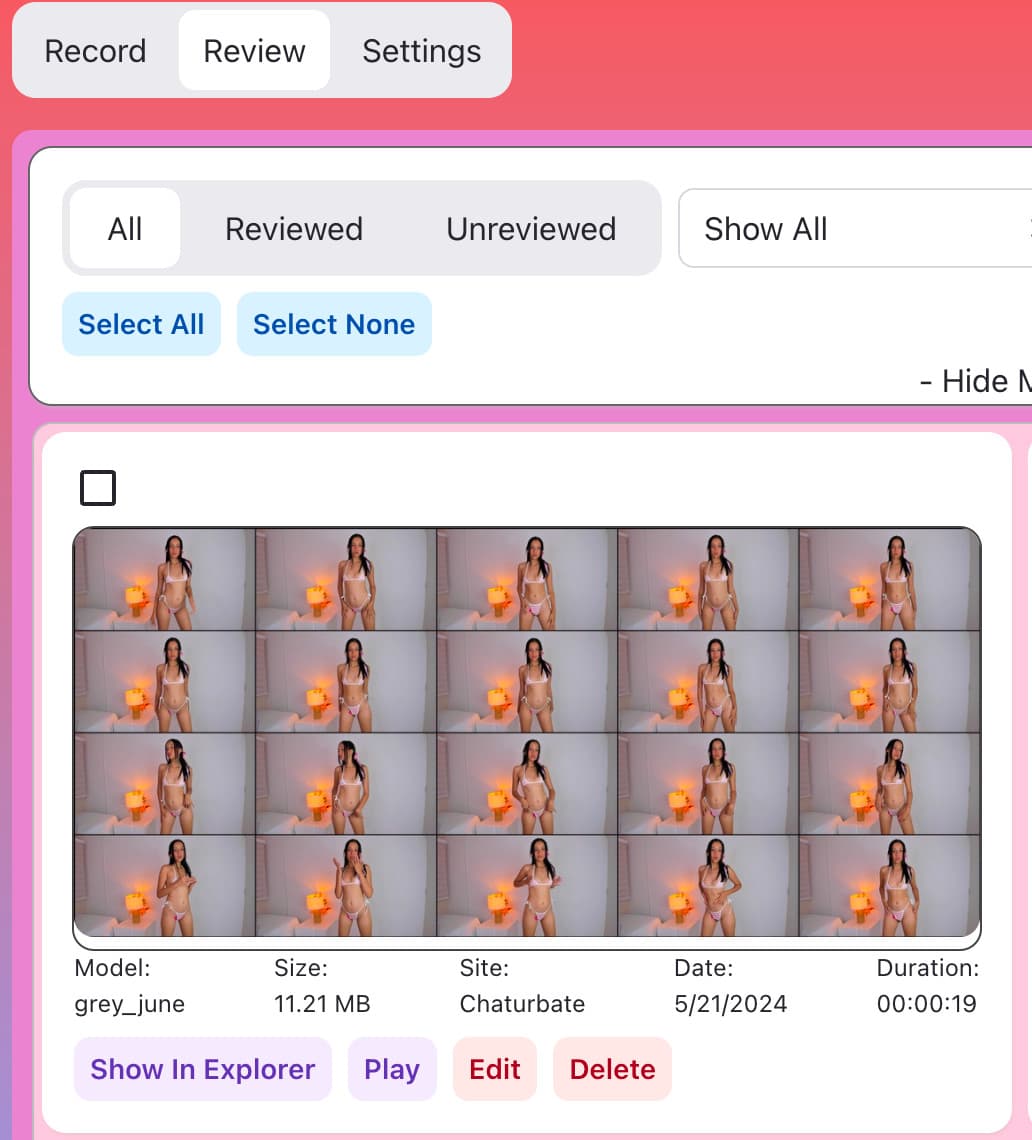
Once the recording is complete, head to the Review tab. CaptureGem will automatically generate screenshots (this may take a few seconds, depending on the recording length). From here, you can:
- Play the video recording
- Edit the recording to trim unwanted sections
- Delete the recording
- Open the directory containing the recording
- Add tags or favorite the recording
Review And Edit
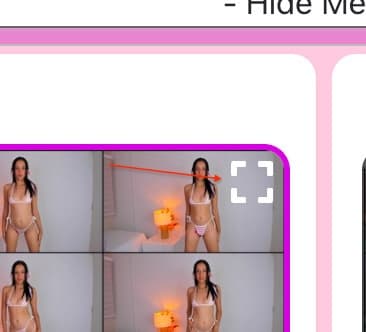
Additional Tip
Hover your mouse over the top-right corner of a screenshot to expand it for a closer look.
Review And Edit
Adjusting the Settings
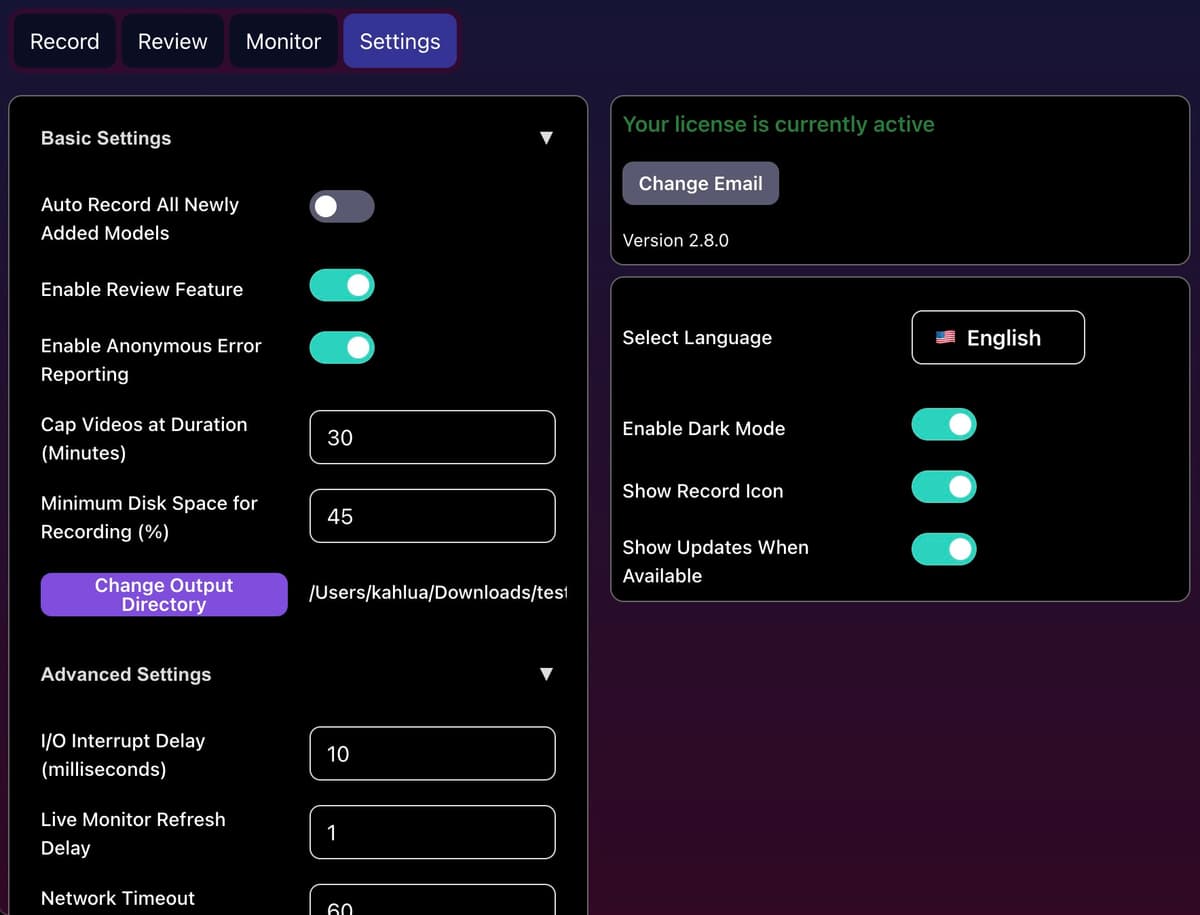
CaptureGem has many settings to suit your personal preferences, which you can adjust in the Settings tab. The settings are divided into basic and advanced. For example, you can change the recording lengths, set the network timeout, set the output directory, and set the UI to dark mode or change the language.
Adjusting the CaptureGem Settings
By following these steps, you'll be able to successfully record and edit a Streamate recording using CaptureGem.
Read More And Free Download Here
